Small Guard Basketball Workout: 3 Levels to Score From Anywhere
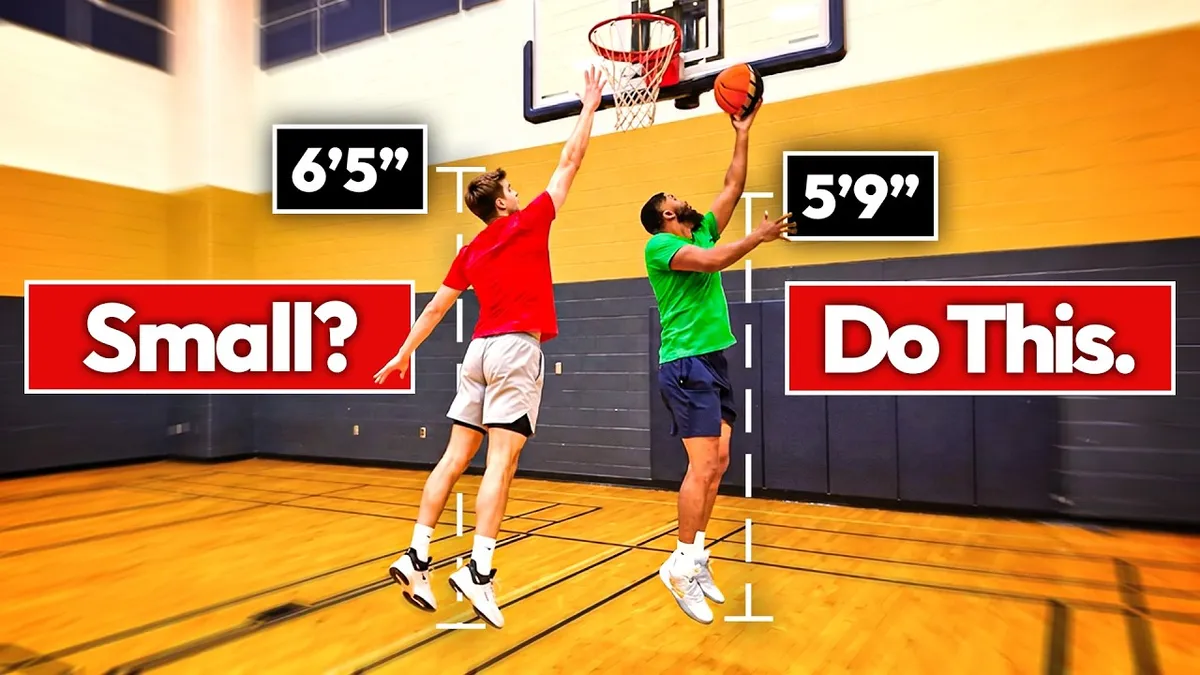
Small guards usually train hard. Plenty of them still feel like their size is holding them back. So Coach Meech from I Love Basketball TV built one session that hits all three levels of the floor: ball handling, finishing at the rim, and shooting. Nine minutes on the video. A ball, a line on the floor, a rim, and you're set.
Watch it first if you like. The notes below follow his order, with the cues he stresses and the numbers he gives.
Level 1: Ball handling
The idea is to warm up your body and get your footwork dialed in before you ever touch the rim. Two drills.
The stationary series
Stay low. Say the ball's in your right hand. First up, a V-dribble. The ball goes in, then comes back out when it bounces, so your hand goes to the side and pulls inward. Second dribble is the in and out. Roll your hand over the top of the ball and push it out with just one bounce.
Then a double crossover in front. One, two. After that you go through the middle of the legs, then behind the back, and the series starts over with the ball in the same hand. One continuous flow.
Small thing, big deal: keep your feet wide. That's how you put your weight on your waist and slide side to side getting in and out. Feet too close together? Dribbling between them gets awkward fast. Spend 30 seconds on each hand.
The line drill
This one gets your body and your footwork talking to each other. Start low on one side of a line. Ball in your right hand, the line near that hand. Cross the line with your left foot and dribble. Next step with the other foot, and dribble through the middle. Then step back and reset. Do it again from the opposite side, ball in your left hand, crossing with your right foot.
His tip is simple. Keep your dribble in sync with your feet. When you cross the line, the step and the dribble happen at the same moment. When the ball goes through the middle, it matches the step of your back foot. Every step, same rhythm. Thirty seconds again.
Level 2: Finishing
Here's where small guards separate themselves, according to Meech. Two drills, and both are built around not getting your shot blocked.
Touch finishes at the rim
Start right near the rim. Your first shot is super short. The ball barely clears the rim, but it has to go straight in. The second shot is the opposite, a really high floater. And you use the same hand for both. Start with your right and you stay with your right the whole set.
Swap every shot: short, high, short, high. Pay attention to the release. The ball should come off your fingertips, not your palm. It turns into more of an open palm finish, and you don't need a full follow through. Go for 15 makes with the right hand and 15 with the left.
Inside hand finish with footwork
Get set one step above the block, facing the hoop. Rip across to the opposite side of the rim, and finish with your inside hand. If you're on the left side of the rim, that's your right hand.
The key to this drill: change your footwork every single rep. Some reps you jump off your right foot. Others, your left. You can even use the pro hop. The hand stays the same (inside hand) while the feet keep changing. Do the same thing on the other side, finishing with your left hand when you're on the right. Fifteen on each side.
Why does it work for small guards? The inside hand keeps defenders from blocking the ball. And switching your footwork makes you hard to read. If you always come with the same one-two step or the same jump stop, you become predictable, and you'll get blocked.
A quick aside. Meech mentions a basketball with a mark on it that makes it easy to see whether your backspin is off, handy if you practice alone or with a friend. The link's in the pinned comment on the video.
Level 3: Shooting
Three drills, building from mid-range out to the three-point line. All of them use the same three spots: the top of the key and the two wings.
Quick one-two step from mid-range
Small guards tend to be quick, so Meech wants you learning how to shoot quickly and smoothly with clean footwork. Start with one foot back and one foot in front. Stand at about a 45 degree angle to the rim, with your inside foot first. The goal is to snap that back foot forward fast, and the second your feet arrive, lift the ball and shoot.
Turn and shoot in both directions. Five shots in each direction, from each of the three spots.
Between the legs to pull-up
Now put the whole move together. Start one step below the three-point line, low. Dribble between your legs, then go into a hesitation. Lift your body up, and it'll feel a lot like taking a deep breath. Pause for a beat, then come out quick, with two small steps, one bounce, and up for the shot.
Two timing tips. When you take off, the ball and your feet should be moving at the same moment. The inside foot steps forward as you dribble. Then the second step comes as fast as it did in the last drill, and you jump.
Why the small steps? Say you've been beating your defender off the dribble all game. When you go up for the shot, they'll try to stop you with long, big steps. You answer with two small ones. It takes them time to recover from the big steps, and that buys you some extra space and time to shoot. The target is five makes in each direction, same three spots.
Pop out three-point catch and shoot
Last one, and it's out to three. Get low, one step below the line. Your inside leg should basically be on it. You're popping out, receiving the pass, and getting ready to shoot. No passer? Roll the ball toward yourself.
Version one: push off the inside foot, step with the outside foot, and turn on that step. Two steps, then up. Version two is the one-two step. Roll the ball, step with your inside foot first, then the other foot, then shoot.
Why train this? It mimics real life for small guards. Plenty of you cut inside, set a screen, or run an action, and then late in the possession you have to pop back out to get the ball. That's when you're most open. You don't want to miss it.
A few more tips from the video:
On your dominant side, you'll need to rotate a little more as you pop out so your shooting side gets closer to the rim.
Even so, keep your balance. Don't let your momentum carry you away. Grab the ball, spin, get low, then go straight up.
On your non-dominant side, you don't have to turn as much.
Five shots for each footwork, from the wing, the top of the key, and the opposite wing.
Putting it together
Handle first, finish second, shoot third. Screenshot this table if you want the numbers Meech gives on your phone.
Drill | What he asks for |
|---|---|
Stationary series | 30 seconds each hand |
Line drill | 30 seconds |
Touch finishes | 15 makes each hand |
Inside hand finish | 15 on each side |
One-two step mid-range | 5 shots each direction, 3 spots |
Between the legs pull-up | 5 makes each direction, 3 spots |
Pop out three | 5 shots per footwork, 3 spots Related training: |
Drill What he asks for
Stationary series 30 seconds each hand
Line drill 30 seconds
Touch finishes 15 makes each hand
Inside hand finish 15 on each side
One-two step mid-range 5 shots each direction, 3 spots
Between the legs pull-up 5 makes each direction, 3 spots
Related training: Pop out three 5 shots per footwork, 3 spots
Want more on the handle side? Try the weak hand drills or four dribble moves to beat a defender. If your shot arc is off, the arc post will help.
Not sure whether handles, finishing, or shooting should come first for you? Find your training strategy with the free training quiz.
Frequently Asked Questions
What is in this small guard basketball workout?
Three levels. Ball handling (a stationary series and a line drill), finishing (touch finishes and an inside hand finish with footwork), and shooting (a quick one-two step, a between the legs pull-up, and a pop out three).
Why do small guards finish with their inside hand?
Because it keeps defenders from blocking the ball. Meech pairs it with changing your footwork every rep, so you're harder to predict than a guard who always uses the same one-two step.
How many reps does he want?
It depends on the drill. The handling drills run 30 seconds. Finishing is 15 makes per hand or per side. Shooting is five shots in each direction or for each footwork, from three spots.
Do I need a partner?
Nope. On the pop out drill, if nobody's there to pass, roll the ball toward yourself and go from there.
What's the point of the two small steps on the pull-up?
A defender who's been beaten tends to recover with long steps. Your two small, quick ones take less time, so they're still catching up when you rise. That's your extra space.
Where should I shoot from?
The top of the key and both wings. Every shooting drill in the video uses those same three spots.
What should the ball feel like coming off my hand on touch finishes?
Fingertips, not palm. It's an open palm finish, so you don't need a full follow through. Alternate a very short finish with a high floater, same hand.
How do I handle the pop out on my dominant versus non-dominant side?
On the dominant side, turn a bit more to bring your shooting side toward the rim, then stay balanced and get straight up. On the non-dominant side you don't need to turn as much.
Find your training strategy
Handles, finishing, and shooting all matter, but you don't have to guess which to work on first. Take the free training quiz and find your training strategy.
Stay low. Keep your feet wide. Change your footwork so
nobody can time you. That's the session.